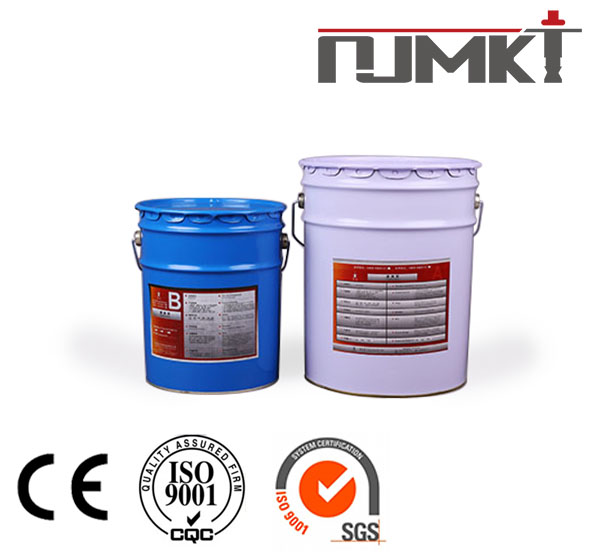
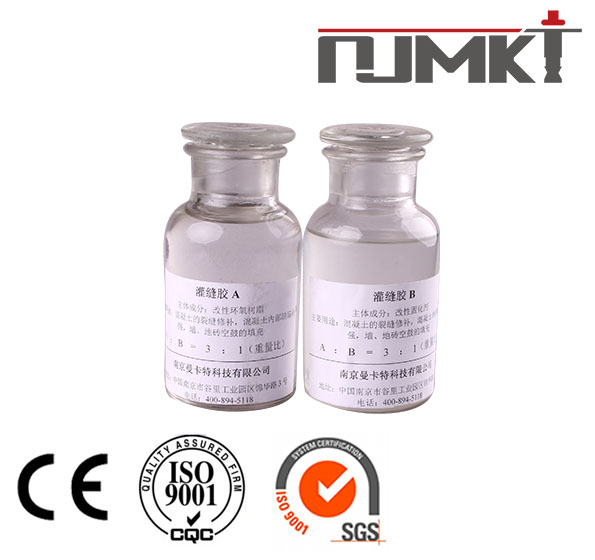
Before starting the construction, there are many necessary tools and materials should be prepared, such as electronic scale, barrel for mixing adhesive (glue preparation), injection syringe, base for adhesive injection, Crack Filling Adhesive, sealing adhesive, cable drilling tool, angle grinder, air gun.


Then here comes the actual installation guide:
1. cut v-slot along the crack by angle grinder
2. clean up the dust by air gun
(if the crack with large-depth, injecting adhesive can be assisted by cable drilling tool)
3. drill the hole by cable drilling tool on the position where the base will be embedded
4. clear up the dust
5. stir the sealing adhesive(according to the packing instruction,Component A : Component B=2:1),then embed the injection nozzle(base)
6. paint adhesive on the base without blocking off the bottom hole
7. use trowel to paint sealing adhesive back and forth, ensuring the adhesive is higher above the surface of base material
the width of adhesive is about 1~2cm outward from the edge of slot, ensuring it is fully sealed.
8. test for the sealed crack
9. after 24-hour curing of sealing adhesive, make leakage test by brushing suds along the crack
10. inject compressed air through injection nozzle, if there still is leak, it can be sealed again.
11. inject ahesive(only when the crack of base material becomes dry, adhesive can be injected)
12. use syringe to extract mixed adhesive, then screw and tighten the syringe to the base(injection nozzle)
13. release the hand shank, enabling the adhesive to be injected inside the crack by the syringe
14. until there is ahesive exuding from the next injection nozzle, remove the syringe and screw the stopper
15. then finish all the work of injecting adhesive into crack
16. remove the base(injection nozzle),repair and maintain the base material
17. after two or three days(depends on the temperature), knock the base off, then repair and maintain the base material by sealing adhesive
Editor: NJMKT
The copyright is reserved by www.nj-mkt.com. If reprint please indicate its source.
